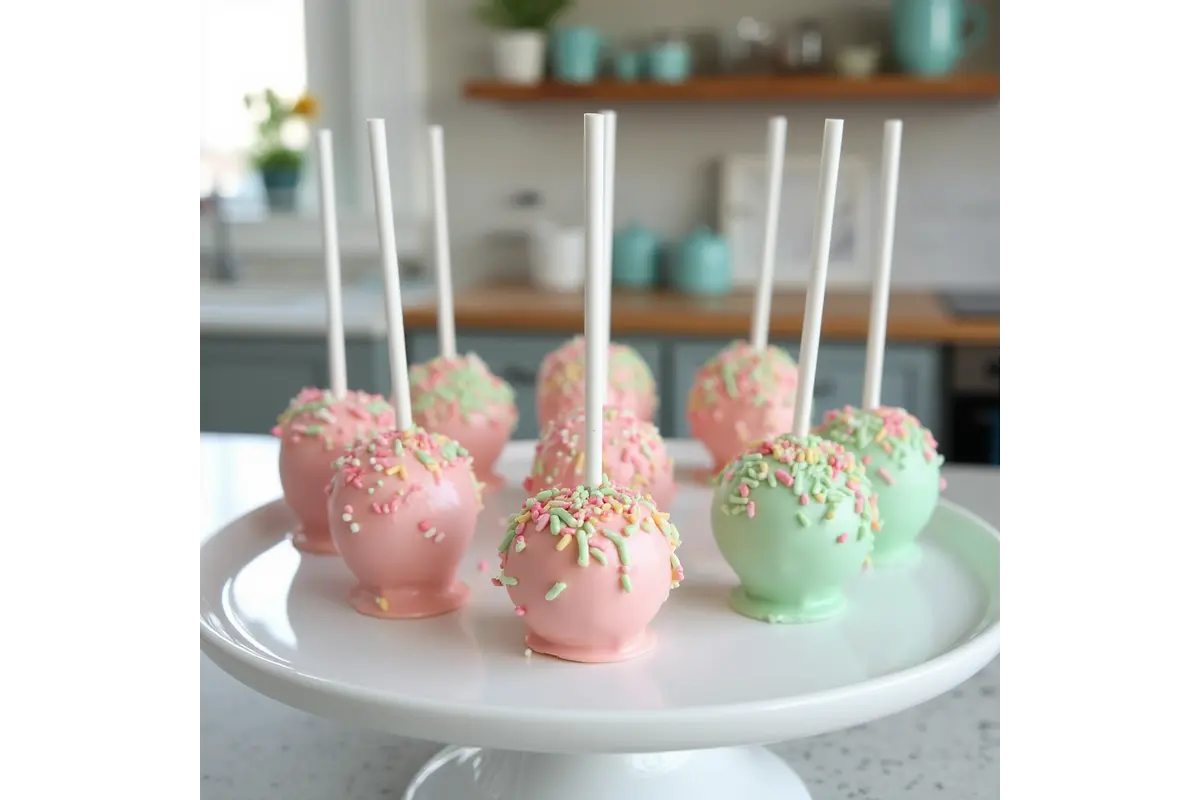
The cake pops are the ultimate bite-sized treats that can bring joy to just about any occasion. Whether you’re planning a party, celebrating a special moment, or simply craving a sweet pick-me-up during the day, these little pops of happiness are always a hit. The best part? You don’t have to visit coffee shops every time you want one—you can make them at home!
Not only is recreating your own cake pop recipe fun and easy, but it’s also super cost-effective. While buying one at the store might set you back nearly $3, making them at home costs just a fraction of that. Plus, you can customize the flavors, colors, and decorations however you like. For example, you could use fun sprinkles, edible glitter, or even design a pop to match a holiday theme. For beginners, having the right baking tools can make the process even smoother.
So, what are you waiting for? Let’s jump right into this exciting recipe and start crafting these irresistible treats today!
Table of Contents
What You’ll Need for the Cake Pop Recipe

The key to a successful cake pop recipe is in the right ingredients and tools. Here’s everything you need:
- Vanilla Cake Mix: The base of the recipe.
- Vanilla Frosting: Adds the perfect touch of sweetness.
- Candy Melts: For a smooth, colorful coating.
- Cake Pop Sticks: Essential for that classic pop look.
- Toppings: Sprinkles, edible glitter, or even crushed nuts for extra flair.
For beginners, check out Unique Cake Pop Decorating Tips to get inspired with creative ideas.
Step-by-Step for the Cake Pop Recipe
Ingredients
To make about 24 cake pops, you’ll need the following:
For the Cake:
- 1 box of vanilla cake mix (or your preferred flavor)
- 3 large eggs
- 1 cup milk (to replace water for added moistness)
- ½ cup vegetable oil
The Frosting:
- 1 cup unsalted butter (softened)
- 3 cups powdered sugar
- 2 teaspoons vanilla extract
- 1–2 tablespoons heavy cream or milk (to adjust consistency)
For the Coating and Assembly:
- 1 bag of candy melts (choose your favorite color)
- 1 teaspoon vegetable oil (for a smooth finish)
- 24 cake pop sticks
- Assorted sprinkles, edible glitter, or crushed nuts for decoration
- Foam block or a stand for drying
Bake the Cake
First, prepare the cake batter using the instructions on your cake mix box. For an extra-moist cake, replace water with milk, use 3 large eggs, and add an extra tablespoon of oil. Bake the cake in a preheated oven according to the instructions on the package, typically at 350°F (175°C).
Once baked, allow the cake to cool completely on a wire rack. Cooling is essential to prevent the frosting from melting during the mixing process.
Prepare the Frosting
While the cake cools, make your frosting. In a mixing bowl, beat the softened butter until it is smooth and creamy. Gradually add powdered sugar, one cup at a time, while continuing to mix. Add the vanilla extract for flavor, and if needed, add heavy cream or milk one tablespoon at a time to reach a smooth and spreadable consistency. This frosting will be the glue that holds your cake balls together.
Crumble the Cake
Once the cake is completely cooled, crumble it into a large mixing bowl. Break it into fine crumbs using your hands or a fork. Slowly add a few spoonfuls of frosting to the crumbs, mixing thoroughly after each addition. The mixture should be moist enough to hold together when pressed but not overly sticky.
Roll Into Balls
Using a cookie scoop or a tablespoon, scoop out equal portions of the mixture. Roll each portion into a smooth ball using your hands. Place the balls on a baking sheet lined with parchment paper to prevent sticking. Aim for consistency in size, as this helps with even coating later.
Chill the Balls
Transfer the baking sheet with the cake balls to the refrigerator. Chill for at least 2 hours or until the balls are firm. This step is critical to ensure the balls stay intact during coating and don’t fall apart.
Melt the Candy Coating
Melt the candy melts in a microwave-safe bowl. Heat in 30-second intervals, stirring well after each interval, until the candy is completely melted and smooth. Add 1 teaspoon of vegetable oil to thin out the candy coating and make it easier to dip.
Assemble and Dip
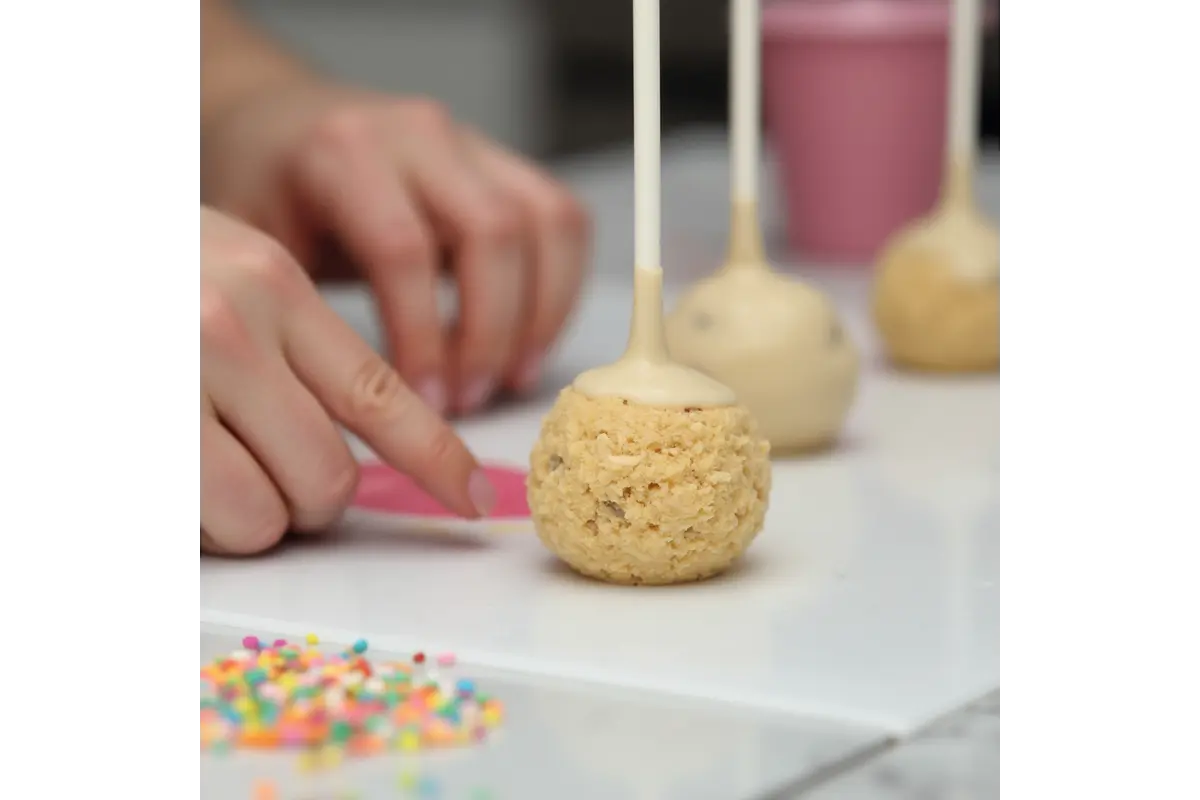
Start by dipping the tip of each cake pop stick into the melted candy. Insert the coated end of the stick into the center of a cake ball, about halfway through. This helps secure the stick to the ball. Let it set for a few minutes.
Once the sticks are firmly attached, dip each cake pop into the melted candy, rotating it to coat evenly. Gently tap the stick on the edge of the bowl to remove excess coating.
Decorate and Dry
While the coating is still wet, quickly add your decorations. You can use sprinkles, edible glitter, crushed nuts, or even drizzle a contrasting candy melt color for a stylish finish.
To dry, stand the pops upright in a foam block or lay them on parchment paper. Allow them to set completely at room temperature.
Storage Tips
Once your cake pops are fully dry, it’s important to store them properly to maintain their taste and texture.
Short-Term Storage
For short-term use, place the cake pops in an airtight container and store them at room temperature. They’ll stay fresh for up to 5 days if kept in a cool, dry place away from direct sunlight or heat. This makes them perfect for preparing ahead of time for parties, school events, or just to have on hand for a sweet treat.
Long-Term Storage
If you’ve made a large batch and want to enjoy them later, freezing is an excellent option. Here’s how to do it:
- Wrap each cake pop individually in plastic wrap to prevent freezer burn.
- Place the wrapped pops in a freezer-safe container or zip-top bag, ensuring they are laid flat and not overcrowded.
- Label the container with the date to keep track of storage time. Cake pops can be frozen for up to 3 months.
When you’re ready to enjoy them, transfer the cake pops to the refrigerator and let them defrost overnight. This gradual thawing helps maintain their shape and texture. Once defrosted, they’re ready to serve!
Serving Suggestions
Once your cake pops are ready to eat, you can:
- Display them in a decorative jar or stand for parties or events.
- Wrap them individually in cellophane bags tied with ribbon for gift-giving.
- Pair them with a cup of coffee or hot chocolate for an indulgent treat.
Tips for Perfect the Cake Pop Recipe
Making this cake pop recipe can sometimes be tricky, but these tips will ensure success:
- Chill the Cake Balls: Always refrigerate to avoid crumbling.
- Avoid Over-Mixing: Too much frosting will make the cake balls too soft.
- Smooth Coating: Add a few drops of vegetable oil to candy melts for a silky texture.
If you’re looking for other creative dessert ideas, explore delicious hybrid desserts like brookies.
Creative Variations for Your Cake Pop Recipe
Switch things up with these ideas:
- Chocolate Cake Pops: Swap vanilla for chocolate cake and use dark chocolate candy melts.
- Seasonal Themes: Create pumpkin-flavored pops in the fall or peppermint pops for Christmas.
- Vegan-Friendly: Use dairy-free cake mix and frosting for a plant-based version.
For more allergy-friendly desserts, check out Top Vegan Gluten-Free Desserts.
FAQs About Cake Pops
Q: Can I make cake pops without sticks?
A: Absolutely! You can serve them as cake truffles by skipping the sticks.
Q: What’s the shelf life of cake pops?
A: Stored in an airtight container, they last up to 5 days at room temperature or 3 months in the freezer.
Q: How do I prevent cracks in the coating?
A: Ensure the cake balls and candy melts are at room temperature before dipping.
The Cost of Homemade vs. Store Bough Cake Pops
While a store cake pop costs nearly $3 each, making them at home costs as little as $0.35 per piece—a huge difference that adds up quickly if you’re making a batch. Not only is this more budget-friendly, but it also gives you the freedom to experiment with flavors and designs that suit your personal preferences.
For instance, you can stick to the classic vanilla flavor or try unique variations like red velvet, chocolate, or even lemon. You can also play with the coatings by using colored candy melts, white chocolate, or even drizzling multiple colors for a marbled effect. Plus, decorating options are virtually endless—think festive sprinkles, edible glitter, crushed nuts, or even mini chocolate chips.
Making your own cake pops at home also means you can cater to dietary restrictions or preferences. Want a vegan or gluten-free option? Simply swap out the ingredients for alternatives, such as a dairy-free cake mix and frosting or a gluten-free cake base. You can also reduce the sugar content or use natural sweeteners if you’re looking for a healthier treat.
Why Choose Homemade Cake Pops?
Homemade pops are not just economical but also allow for personalization. From dietary modifications to unique decorations, there’s no limit to what you can do. Learn how to elevate other desserts with our fruit-based dessert spreads.
Conclusion: Sweet Success with these Cake Pops
Making homemade cake pops at home is not just about recreating a treat; it’s about creating an experience. From baking the perfect cake to adding personalized decorations, this process allows you to unleash your creativity in the kitchen. Whether you stick with the classic vanilla flavor or experiment with seasonal variations, these bite-sized delights are guaranteed to impress.
Beyond the savings and the joy of baking, homemade cake pops offer a level of customization and freshness that store-bought versions simply can’t match.
So, gather your ingredients, turn up your favorite playlist, and get rolling—because nothing beats the satisfaction of crafting your own sweet creations. Ready to get started? Let us know how your cake pop recipe turns out, and don’t forget to share your unique twists!

